September 5th, 2020Glen, about the house
Once the young seedlings have reached a manageable size, with sturdy stems, there are several courses of action. Those sown directly into the garden bed will need little attention for now, except for thinning out tight clusters and using the discards to fill any gaps where seeds may have failed. And, of course, remove any weeds. Don’t allow the beds to dry out, water them regularly with a fine mist spray to avoid disturbing their still-fragile roots.
Those sown into boxes or large pots will need to be planted out as soon as they are large and stem-strong enough to handle, either into individual pots, or directly into the garden bed. Most varieties will fare better in the garden after a time to really become established in a pot before facing the elements. Others more sturdy, such as onions, chives and most leaf greens such as cabbage, lettuce etc. prefer as little handling as possible.
When “pricking out” (an old nursery term) the seedlings from the seed box, try using an old kitchen fork to prise them apart and lift them from the soil to minimise damage to their roots.
I spent countless hours for many childhood years in our nursery potting shed transplanting literally millions of tomato, capsicum and other annuals from seed boxes into those little strawberry punnets. Just one of the many mind-numbing tasks – including the daily handwatering of several acres of potted plants. (In those days South Australian water restrictions forbade the Summer use of sprinklers). It all helped strengthen my resolve to choose another career path as soon as I was able.
Considering the short time the plants will spend in pots pre-planting, they needn’t be particularly large. In fact, they needn’t be pots in the traditional sense. Smaller seedlings could be put into egg cartons which can then be planted out in situ without further disturbing the roots.
In fact, there is really no need for pots at all, as you will see in next week’s column, when I feature ways to create self-composting plant containers out of newspaper etc. A small hint, save up your toilet paper and paper towel inner tubes. Another fun family project.
Allow the plants to develop to the second- or third-leaf stage before going into the garden to give them plenty of time and minimise any chance of loss. Shade them on hot days until they are established or they could have their foliage burnt. Although I think with the way the season is moving, they might need the protection from frost.
One way to protect young seedlings is to spread a 2cm layer of well-rotted compost as a mulch along each row. Take care though to keep the mulch away from each seedling or it may rot and die. If they are actually planted out during the hotter months they could be protected by covering the bed with shade cloth, supported by garden stakes, during the hottest hours. But that hopefully won’t be for some months yet.
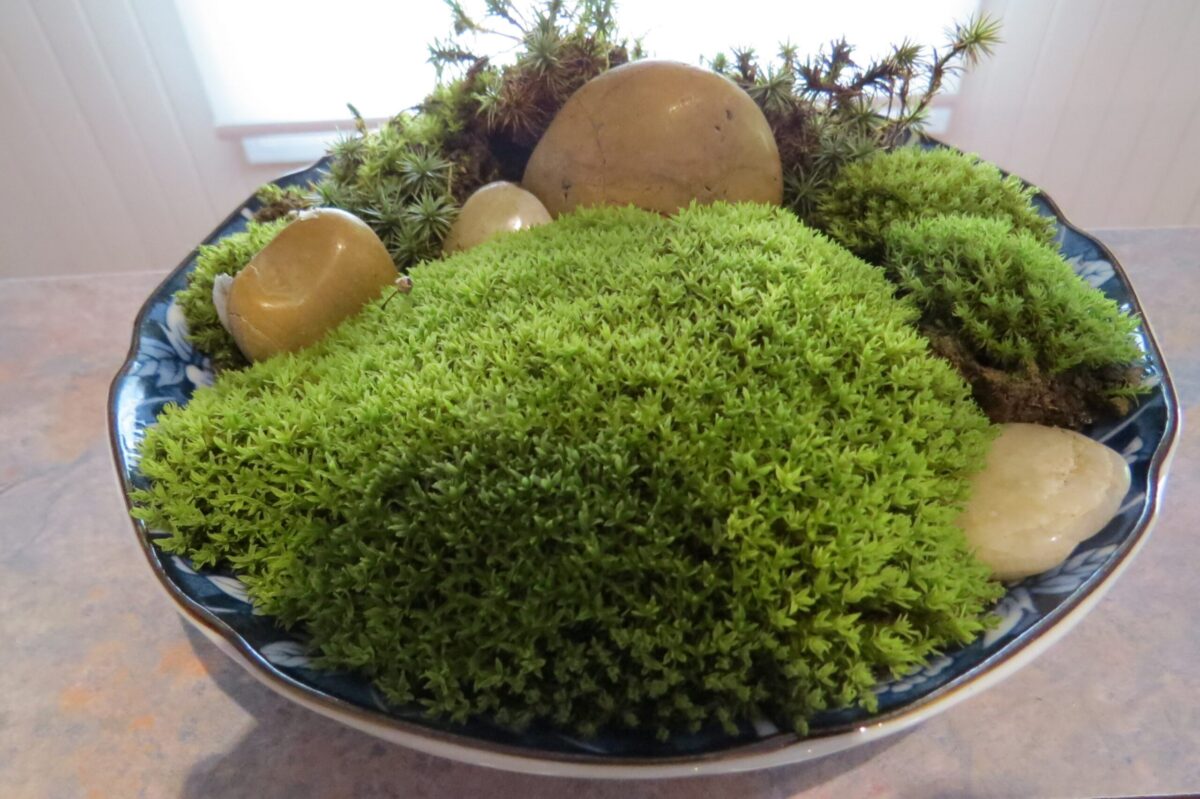
Mossy dish gardens
The rainy winter months have brought on masses of verdant moss on the rocky outcrops in our gardens – and elsewhere, rekindling my interest in terrariums and similar garden-type projects, including the mossy lawn dish garden (pictured above).
All that’s needed apart from moss is a shallow dish, a few stones and a 2-3cm layer of peat moss or something similar, and a little imagination.
Bendigo wax flower
Philotheca verrucosa, formerly known as eriostemon, is a delightful indigenous compact shrub, (pictured bottom right) growing to around a metre in height and spread, and smothers itself in beautiful waxy flowers around this time every year.
Got a gardening question? Ask Glen. Email glenzgarden@gmail.com