

December 27th, 2022Glen, about the house
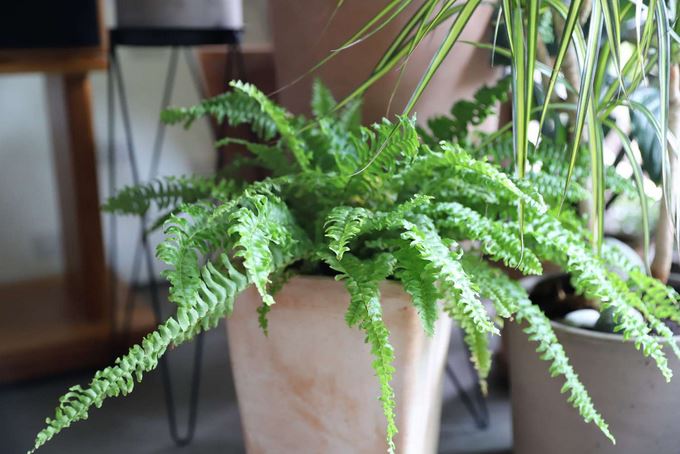
Ferns for fabulous foliage
These beautifully foliaged plants, always a great addition to any shaded windowsill, porch or shaded corner of the garden, are making a welcome comeback.
One of the few remaining links with pre-history, they date back to the beginning of time and have remained almost unchanged since forming the basic vegetation of primeval time. Botanically ferns differ from higher forms of life in that they do not flower, but reproduce themselves from dust-like spores which form on the backs of their fronds.
Growing conditions
In spite of their delicate, even fragile appearance, ferns will grow quite readily if the conditions suit them – moist air, damp acidic soil and plenty of shade.
Remembering that most ferns originate from the banks of forest streams or even the foot of rain forests, find yours a cool spot under established trees, or a dark corner of a room. Ferns do well in poorly lit spaces. They need little feeding, especially if the potting mix contains a liberal dressing of well-rotted cow manure.
Growing from spores
Ferns will usually grow quite readily from their spores if the following steps are carried out:
Collect the spores by holding a sheet of white paper under the spore-laden fronds and tapping them lightly to dislodge the ripe ones;
Sow them by dusting them onto a mixture of equal parts of finely crumbled peat moss and coarse sand;
Place them in a humid position either in a seed box covered with frosted glass or a pot covered with clear plastic. Either way, maintain humidity by placing a shallow bowl of water in with the pot. Whatever you use, remember to keep the container shaded at all times;
After two or three weeks, pinhead-sized, green dewdrops should appear from which, after a few weeks, small fronds will emerge. Once these plantlets are about two centimetres high, they can be gently lifted with tweezers from the pot and put into larger containers, of the same mixture, spacing them 4-5 cm apart; and, finally, the little ferns can be potted into small individual containers, once they reach about 5-7 cm high.
Potting
(Rather than add to the local discarded plastic mountain, make your own pots from cut lengths of cardboard toilet or other paper cores. Cut them at 2cm longer than the pot height and then cut and fold the extra length to form the bottom of the pot. I usually scrunch up a plug of newspaper for the bottom to keep the soil intact.)
The potting mix should be crumbly and friable with a slightly acidic quality. Mix it with equal parts of sand, peat moss, well-rotted compost and good garden loam, or quality potting mix. It isn’t necessary to repot ferns too often as they prefer to be a little pot-bound.
Minimal care
Ferns require minimal care. Cut off any old fronds and keep pests at bay. Mealy bugs are the worst of these. They are a downy-white scale-like insects which form clusters along the back of the fronds.
An old but very effective means of dealing with them is to mix a teaspoonful of methylated spirits in 500ml of water. Touch the little bugs directly with this mixture using a cotton bud or child’s paint brush. But be sure not to touch any of the foliage with the mixture…it will turn it to toast.
Not all ferns produce fronds like the delicate little cup fern (dennstaedtia), or the rather sturdier, larger growing polystichum proliferum I have thriving under spreading branches of an ancient rhododendron.
Enjoy the summer holiday season and see you “about the house” next year! Glen.
Got a gardening question? Email glenzgarden@gmail.com


